
This post may contain affiliate links. This means by purchasing through one of these links I may make a small commission at no extra cost to you. Please see my disclaimer for more details.
Welcome to this ultimate tutorial on how to make a 2, 3 or 4 tier diaper cake! I will teach you how to make a diaper cake the parents-to-be won’t stop raving about. These gorgeous cakes are always a total hit!
In this guide you’ll find a complete list of DIY diaper cake supplies as well as step-by-step diaper cake instructions that set you up for success.
Diaper cakes are unique and thoughtful gifts that don’t completely break the bank. It doesn’t get better than a practical gift you know the parents-to-be will need and use.
Related post: Unique Personalized Baby Gifts
Alright, let’s get to it.
Contents
How many diapers do you need to make a diaper cake?
This, naturally, depends on what size diaper cake you would like to make.
For a 2 tier diaper cake you’ll need 28 diapers, for a 3 tier diaper cake you’ll need 62 diapers and for a 4 tier diaper cake you’ll need 118 diapers.
What size diapers are best for a diaper cake?
A lot of newborns don’t ever fit newborn diapers, so your best bet is to choose size 1 or size 2 diapers. This way the new parents have time to disassemble the cake and utilize the diapers before their baby is on to the next size.
What are the best diapers to use for a diaper cake?
If the parents-to-be have a preferred brand, those would be the best choice. Otherwise, you will want to choose white diapers or patterned diapers that fit the theme of your cake.
I personally use the Target Up & Up brand diapers as they are both white and affordable.
How much does a diaper cake cost?
Diaper cakes range in cost depending on multiple factors including the type of diapers you choose, whether you are wrapping the layers in swaddle blankets and what type of embellishments you wish to add to your cake!
The 4 tier diaper cake made using this tutorial cost me just under $30 to make (thanks to some awesome Target dollar section finds!). The price can easily skyrocket towards $100 (and even more) if you are choosing expensive diapers, high-end swaddles and fancy embellishments.
Diaper cake supplies needed:
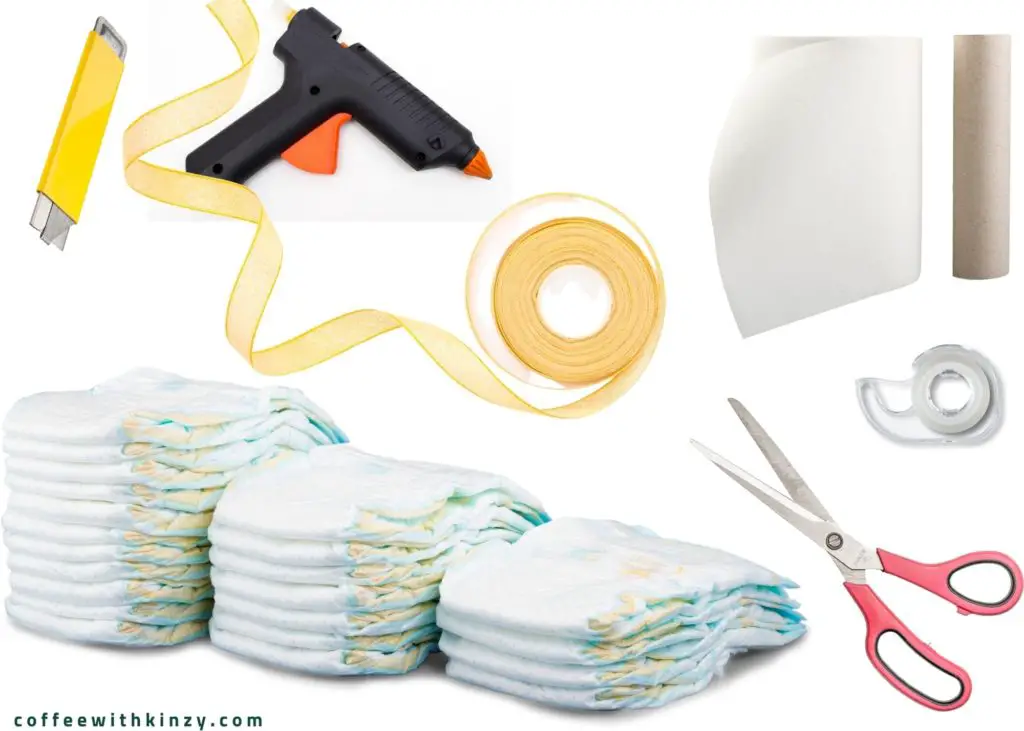
Ok so you’re ready to get creating. Here are the supplies you will need to craft a beautiful diaper cake.
- Thick cardboard
- Box cutter
- 1 empty paper towel roll
- 1 empty toilet paper roll
- Size 1 or 2 diapers (in white or a pattern that coordinates with your theme. You’ll need ~118 for a 4 tier cake, ~62 for a 3 tier cake and ~28 for a small 2 tier cake)
- Clear elastic bands (1 for each diaper)
- Hot glue gun (& glue)
- Clear tape
- Scissors
- Ribbon
- Embellishments (swaddle blankets, artificial flowers, stuffed animals, pacifiers, small baby toys, baby shoes, tutu’s)
- Optional: cake stand or decorative charger for a base (works great for 3 tier option, 4 tier option is too big for standard cake stand and charger sizes!)
The supplies needed are pretty basic, so it’s easy enough to get started. Your local dollar store & the Target dollar section will save you tons of $$ on things like the rubber bands, tape and ribbon. You can also get pizza pans or chargers to use as your base if you so desire.
How to make a diaper cake
Complete step-by-step instructions on how to make a 3 & 4 tier diaper cake:
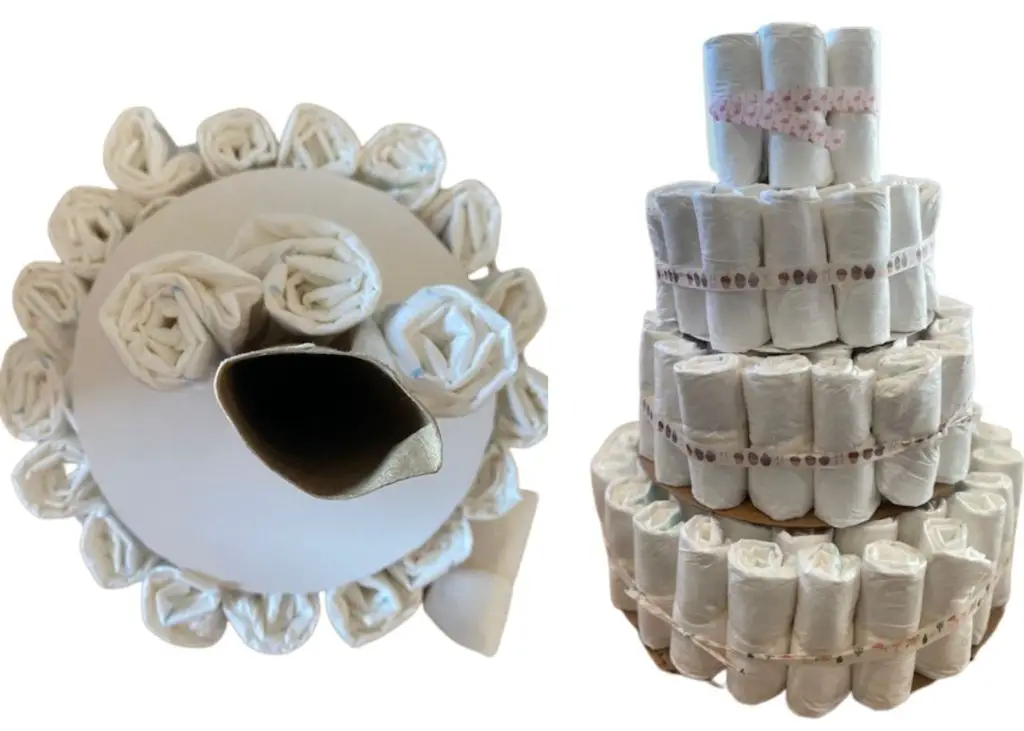
- Roll out all the diapers for the size you chose and secure in the center with a rubber band (I recommend doing this while watching your favorite TV show!) *see instructions below on how to roll diapers effectively
- Cut out circles from cardboard (Approximately 11.5″ and 8.5″ in diameter, the top layer does not require a base unless you want one). You can use various size mixing bowls or buckets to get the right sizes.
- Hot glue the paper towel roll to the cardboard base
- Align ~34 diapers in a circle around the paper towel roll.
- Secure with clear tape around the middle
- Cut a hole in the cardboard for the second tier and slide over the paper towel roll
- Align ~20 diapers in a circle around the paper towel roll and secure with clear tape
- Insert a single diaper into the top of the paper towel roll until it’s the height of the remaining 4 diapers aligned in another circle for the top tier
- Secure with clear tape around the middle, and you are ready to add your fourth tier or get to decorating!
Diaper cake instructions for a 4th tier:
- Cut out a larger size base from cardboard (Approximately 14″ in diameter)
- Hot glue a toilet paper roll to the center.
- Align the diapers in circular layers around the toilet paper roll
- Secure with clear tape all the way around
- Hot glue the top of the toilet paper roll to the center of the base of the previously assembled 3 tier cake
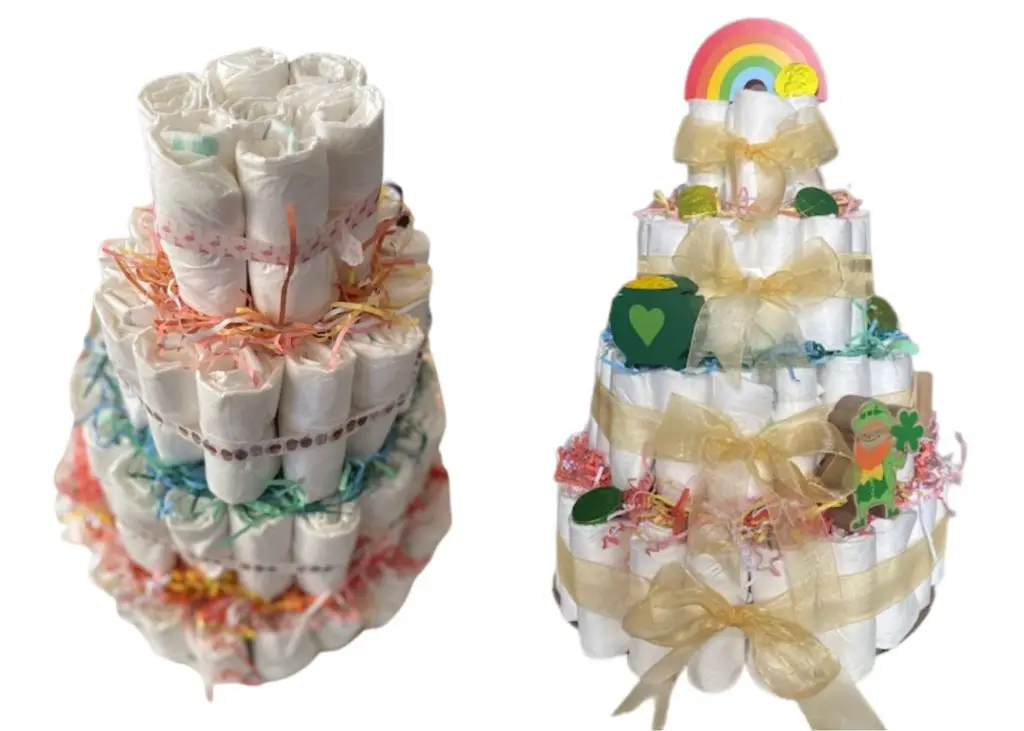
There you have it! A stunning 4 tier diaper cake base ready for decorating.
Embellishments used for this rainbow lucky charm diaper cake:
- I placed shredded paper in rainbow colors (for Easter baskets) under the diapers and above the base for each layer.
- Wide gold ribbon tied in a large bow secured at the front of the cake
- Leprechaun & rainbow figures from the Target dollar section around St. Patrick’s Day
- Gold & green chocolate coins
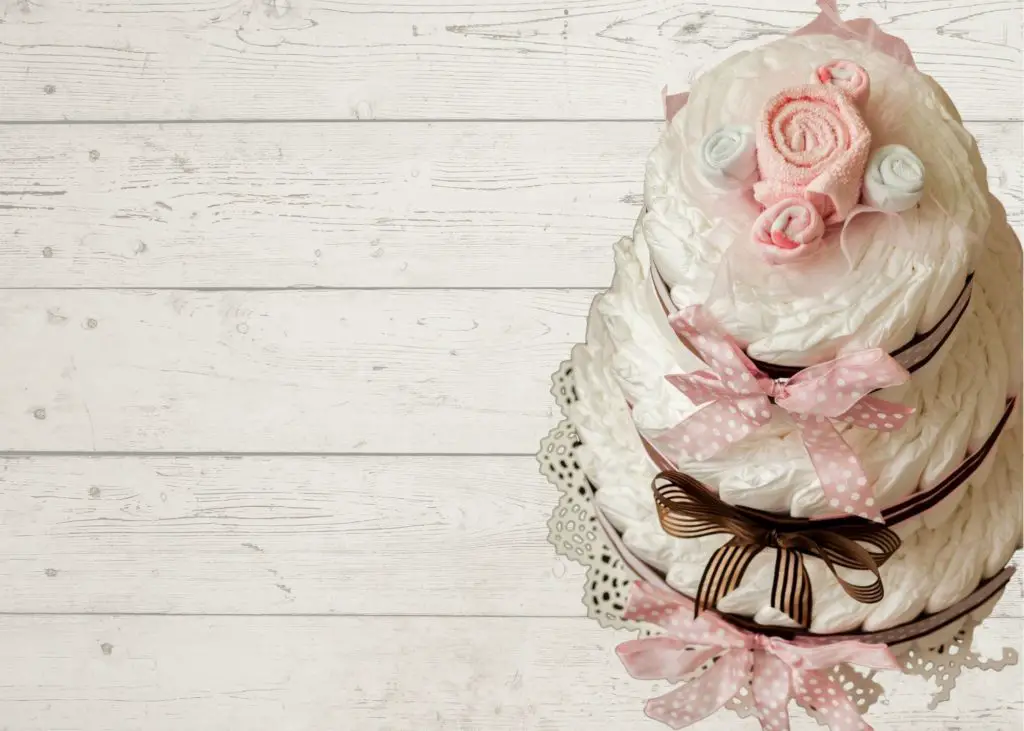
How to make 2 tier mini diaper cakes (often used as centerpieces!)
For a two tier diaper cake you need ~28 diapers per cake. First, you’ll need to roll your diapers and secure with a clear rubber band. After, you’ll cut out a cardboard circle or use a small decorative plate, and you will want to hot glue a toilet paper roll to the center. You then need to align 20 diapers in a circle and secure with clear tape. Now it’s time to insert a diaper into the toilet paper roll, so it’s stable and even height with the remaining 6 diapers you arrange in a circle around the middle one. Secure those with clear tape, and you are ready to add ribbon and embellishments!
Frequently Asked Q’s
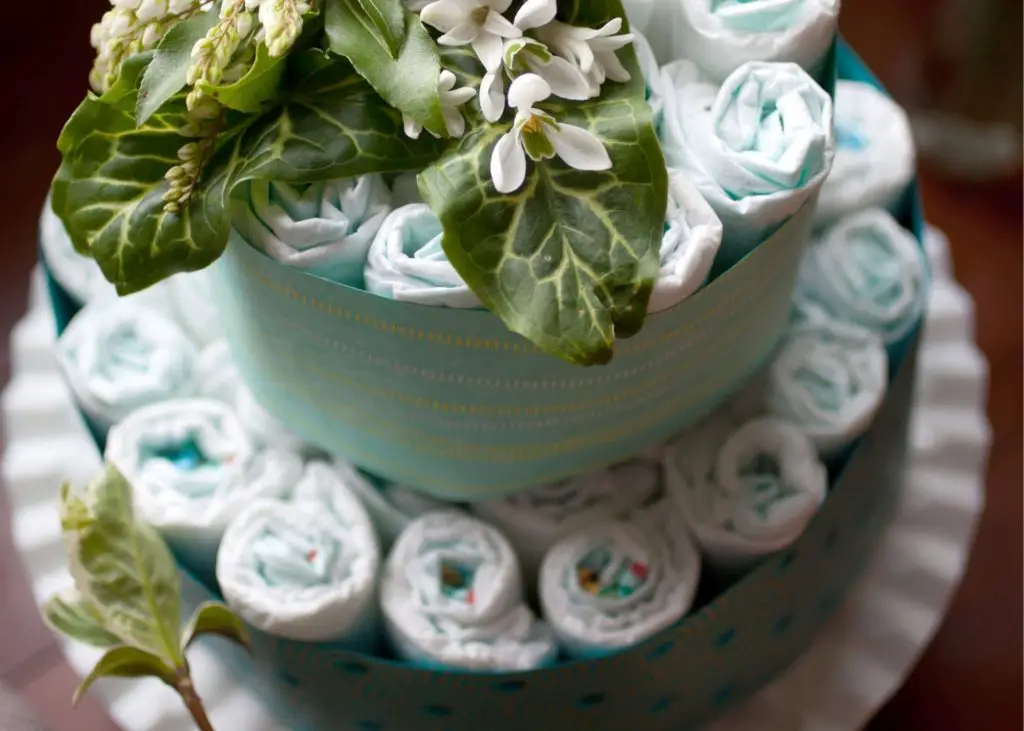
How do you roll diapers for a diaper cake?
The best way to roll the diapers is to start from the top frilly portion and roll towards the base. If you do it this way the diaper can be secured with one rubber band, whereas if you roll from the base you’ll need two to control the frills.
How do you attach things to a diaper cake?
It depends on what you exactly you are attaching but here are some of my favorite tools:
- glue dots
- clear tape
- ribbon
- pipe cleaners
- wooden skewers or popsicle sticks
- hot glue
- paperclips
Obviously you don’t want to glue anything to the diapers if you want the parents-to-be to be able to use them. Instead, wrap a ribbon around the object and adhere it to the ribbon around the tiers or a popsicle stick you can insert into a diaper.
How do you tie ribbon in a perfect bow?
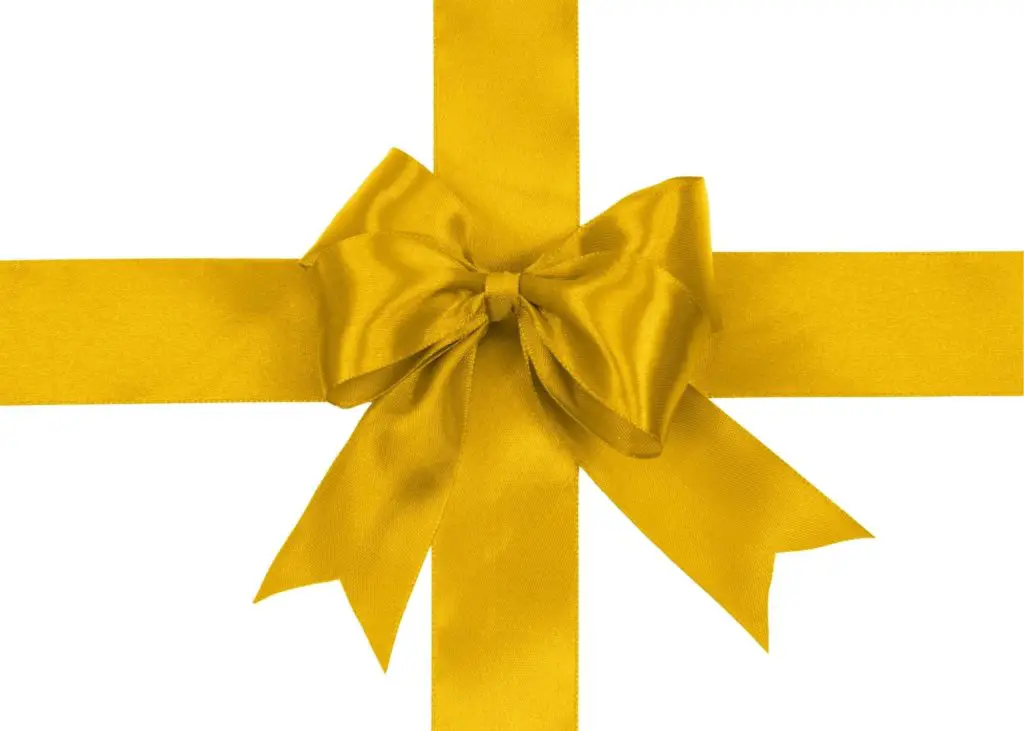
It makes all the difference, doesn’t it?! This YouTube clip by Lia Griffith shows you how to quickly tie the perfect bow every time. I use this method for everything from diaper cakes to gift wrapping to tying sashes on coats and dresses. It’s perfect!
Where can I buy a pre-made diaper cake?
If you find yourself low on time or aren’t in a crafty mood, there are plenty of pre-made diaper cakes for sale on Etsy. You can check them out right here.
That’s a wrap, friends. I hope you enjoyed this tutorial on how to make a diaper cake. Please leave any questions or comments below.
Happy crafting!
Xo,
Kinzy
You might also like:
Unique Personalized Baby Gifts
Custom Children’s Book Starring Your Child